Common Pests & Diseases
Common Garden Pests and Diseases
Aphids
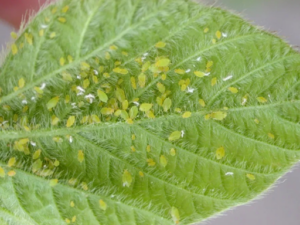
What are aphids?
Aphids are small insects (2-4mm) that feed on plant sap. They usually come in large groups and feed on the undersides of tender terminal growth as well as the stems of new growth. They range in color from green, black, red, yellow, brown, or gray. Green aphids can be especially hard to see since they blend in with most foliage.
What common plants do aphids attack and eat?
They are known for being attracted to Camellias, Dahlias, Nasturtiums, Roses, Citrus plants, Fruit Trees, Shade Trees, Shrubs, Beans, Beets, Bok Choy, Broccoli, Cabbage, Chard, Cucumbers, Kale, Lettuce, Okra, Spinach, Squash, and Tomatoes. But they can be on a variety of other plants as well.
What does aphid damage look like?
Signs of aphid damage include twisted and curled leaves, yellowing of leaves, stunted or dead shoots and poor plant growth.
What products are available at Madison Earth Care to control aphids?
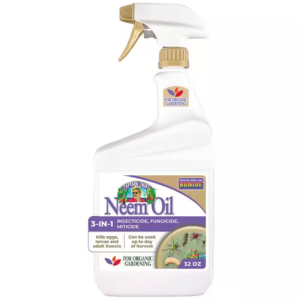
Captain Jack’s Neem oil
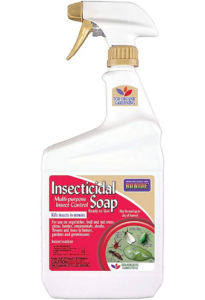
Captain Jack’s Insecticidal Soap
Powdery Mildew
What is powdery mildew?
Powdery Mildew is a fungal disease that’s common in plants exposed to humid environments with low light exposure. Overcrowding plants in your garden can increase the likelihood of this disease as well. Plant leaves infected with powdery mildew will gradually turn yellow, die, and fall off. The disease can also spread to the stems of the plant. This disease has been more prevalent this year due to the environmental conditions created by smoke from the wildfires in Canada.
What common plants are affected by powdery mildew?
Many vegetable plants are affected by powdery mildew including artichoke, beans, beets, carrot, cucumber, eggplant, lettuce, melons, parsnips, peas, peppers, pumpkins, radicchio, radishes, squash, tomatillo, tomatoes, and turnips. Perennial plants such as Aster, Hollyhock, Bee Balm, Phlox, Columbine, Joe Pye Weed, Coreopsis, Delphinium, Geranium, Lupine, Rudbeckia, Salvia, Veronica, Yarrow, and Heliopsis can be prone to contract this disease. Powdery mildew attacks shrubs and trees as well including but not limited to Azalea’s, Rhododendron, Maple trees, Birch trees, Dogwood’s, Lilac’s, Viburnum and Kamia.
What does powdery mildew damage look like?
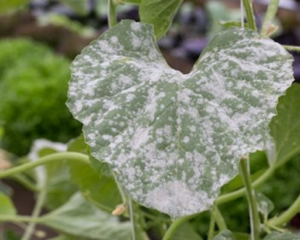
Powdery Mildew presents as light gray or white powdery spots on infected leaves. It also turns the leaves a bright yellow, which can start off spotty then eventually take over the whole leaf. Powdery Mildew can be found underneath infected leaves as well as on stems, flowers, fruit and vegetables of plants.
What products are available at Madison Earth Care to treat powdery mildew?
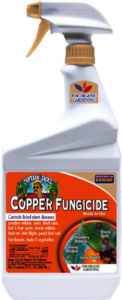
Captain Jack’s Copper Fungicide
Captain Jack’s Neem oil
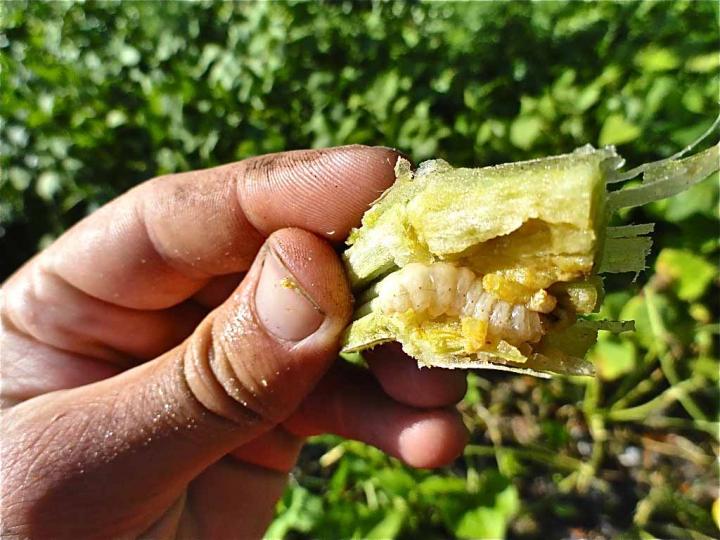
Slugs
How do you know if you have a slug problem?
Slugs are most active after dark, between the hours of dusk and dawn. If you are gardening during the day, chances are you won’t see them. In the light of day slugs hide in damp places such as under stones, ground cover, planters, and even burrow into the soil to avoid dehydrating.
What common plants do slugs attack and eat?
Slugs are known for eating basil, beans, cabbage, dahlia, delphinium, hosta, lettuce, marigold, and strawberries just to name a few.
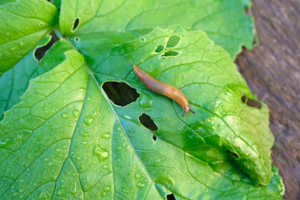
What does slug damage look like?
If you see rounded smooth holes that are more often in the center of your leaves than the edges this is most likely slug or snail damage. You may also see evidence of their slime trails on the plants as well as on the top of the soil.
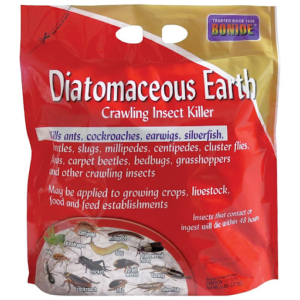
What products are available at Madison Earth Care to control slugs?
Bonide Diatomaceous Earth
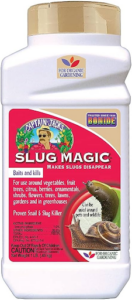
Captain Jack’s Slug Magic